I am having a request for instructions on my ATC storage book. It is really easy, but in an effort to show the folding of pages this post will be a bit photo heavy. Now for advanced paper folders…just skip perhaps every other photo. So, I’ve covered all those bases, on with the show…..
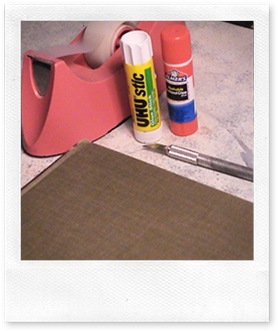
Basic supplies needed are :
Book
Tape
Glue stick
Exacto…not really needed since I tear out the pages as needed because I prefer the torn edges.
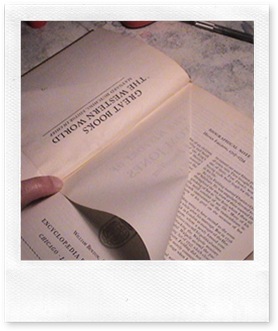
I usually start folding on the first page after the title page.
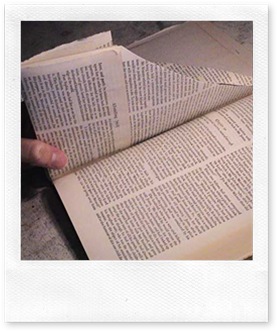
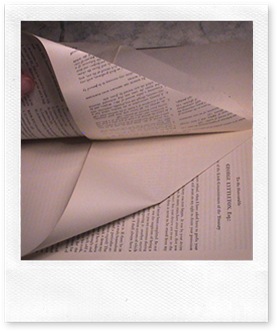
Each two pages will be folded in toward each other.
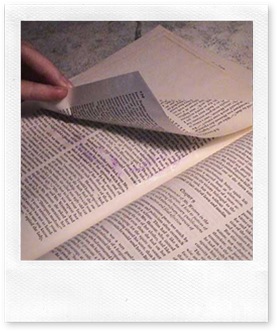
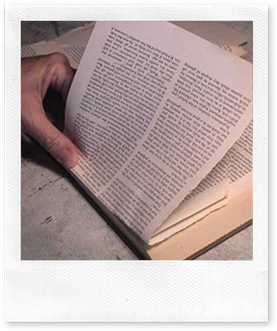
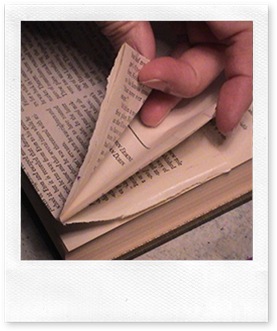
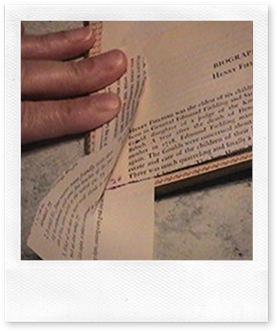
Fold the top outside corner into the center of the book. Burnish the folded edge with a bone folder or the edge of the ever-present credit card.
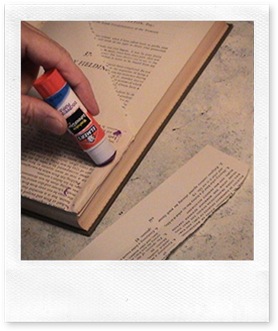
After folding, glue the folded corner.
I just eyeball the area or you can apply the glue to the edges of the flap to be glued.
I am sure you can see that both ways are equally effective as long as Glue is involved.
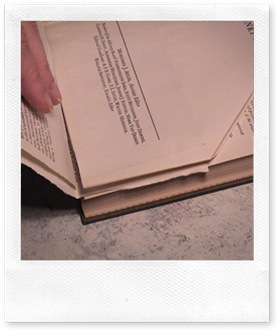
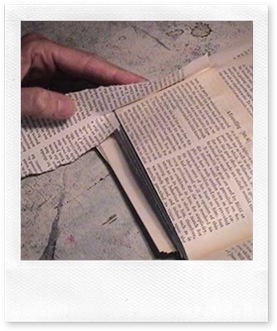
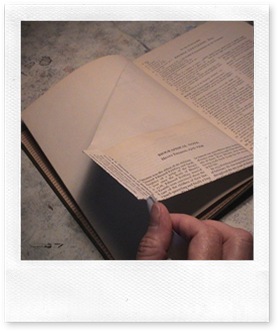
Fold the next page from the upper corner in toward the prior folded page.
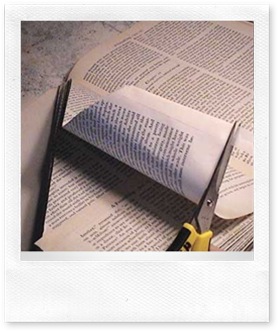
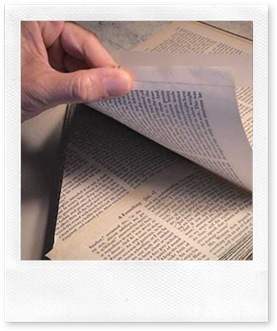 Pull the two folded pages together, matching the edges carefully. Place tape so it may be folded over to join the two pages. Allow the excess length of tape to come off at the bottom of page.
Trim the excess tape evenly with page.
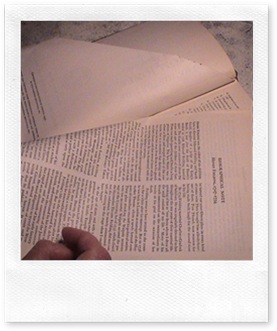
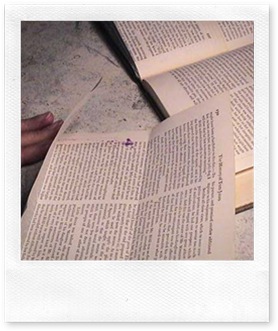
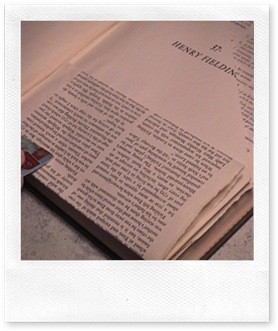
It is important to remove pages so the new folded ones are not so tight together. Just pull out 2 or 3 pages behind the ones you just folded.
The torn out pages will now be used to create pockets on your folded pages.
Place one torn-out page even with the bottom of the folded corner. This will be at the bottom third of the page.
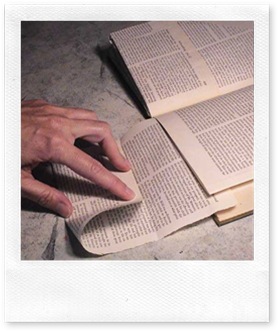 Fold the page up and burnish the edge lightly to mark the fold.
This photo shows more clearly what we have just done with the addition of the last fold. The remaining third of the torn-out page is folded into the crease to create a double layer of paper for strength for the front of the pocket.
Open the folded pocket and place glue on the edges to secure. You don’t need much, it just helps keep things in place sorta like a basting stitch.
The pocket is formed and you need to run the glue stick again on the Inside edge of the pocket only to secure it to the folded diagonal page.
Burnish this edge well. The outer edge is not secured at this time.
Flip over the folded diagonal page so the pocket can be secured the same as the front side. This piece is only one thickness and you may also run the glue at the top of this pocket since it won’t be used to hold things.
Now, you have a front of pocket that is 2 thicknesses. Next is the folded diagonal pages with the tape along the edge. The back is one thickness of the back pocket.
You may choose to glue these edges, but I used tape to join them together.
The final steps finish the outer edge and bind all the layers together and hides the tape. Tear about a 1” strip off one of the torn out pages.
Apply glue along the outer edge at the pocket area.
Place the 1” strip of paper over the glued area on front with half of the strip remaining to wrap around to the back of the page.
Apply glue to the back of the pocket.
Fold over the strip of paper and burnish well. A touch more glue may needed along the outer edges of the strip of paper to hold it down more securely.
Now tear off the excess paper even with the bottom of the page.
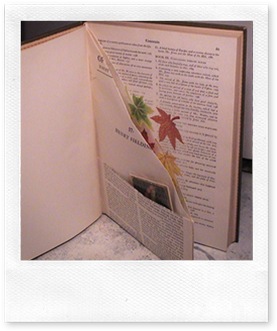
This is your finished pocket page. ATC’s can be placed in the front and diagonal pockets easily. I have been using the larger pockets for some of my tags. I have also received some beautifully presented ATC’s and I will place the presentation piece in this larger pocket.
Now, onto the next folded page. Just repeat what you have done for the prior page and keep on repeating until done. Don’t forget to remove the 2 or 3 pages in between or the pages will be too tight together to show off your creation.
Phew, I broke a sweat on that one folks. I hope you enjoy it and all the directions were clear as mud. You will see just what I mean about how easy this little project is and you will be whipping these out right and left.
Enjoy! and leave a comment with any helpful hints.

Love your tutorial. Thanks for sharing and taking the time to explain the details.
ReplyDeletehello.
ReplyDeletewhat a great tutorial, very clear!
thank you.