Jewelry

Tuesday, February 22, 2011

Jewelry Mayhem

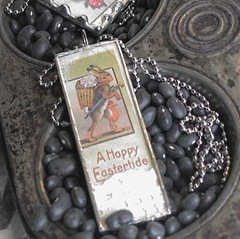
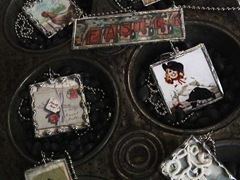
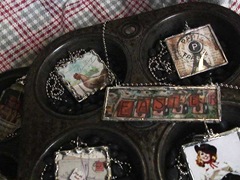
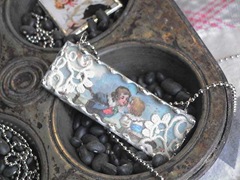
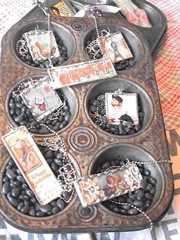
I have learned to solder.  Finally.  Practice makes perfect and I usually don’t settle for less than perfect.  So Practice, practice, practice.  These are some of my first stabs  at getting it right.better-charmssoldered-bunnysoldered-charmssoldered-eastersoldered-sweethearts(Click on pic for larger view)
I learned to solder around the top of prisms to attach jump rings.  This is a result of necessity because after all the artwork and back was finished….it was upside DOWN!  The hole was on the bottom.  Oh me, Oh my.  I know I have a feather charm somewhere to compliment this Indian pic and I was quite proud of my soldered jumpring rescue.indian-prism
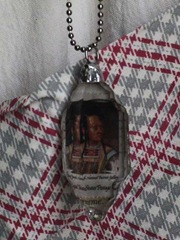
Disclaimer:  This boo boo wasn’t MINE.  teehee.  I lay the creative crisis at the hands of this gal!  yea, yea, she’s not fessing up to the mess is she?!!HeatherNoNo
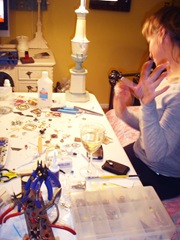
I have a few more ready to put on the work table soon.charms-ready-for-work
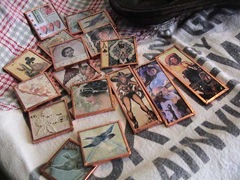
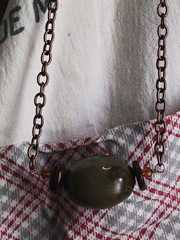
We had a stash of mixed stones and some of these guys were HUGE.  They worked out great as a single on a chain.  This one is a great olive green with gold Swarovski beads and copper chain.copper-green-necklace
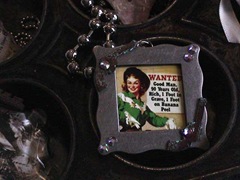
This cowgirl is in a metal frame jazzed up with crystals and a couple of pistols.  The pic is interchangeable with your own personal photo.cowgirl-framed
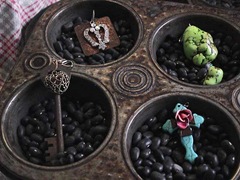
More single charms to clip onto a chain.four-charms
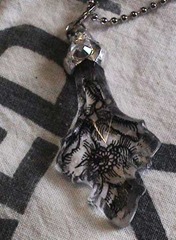
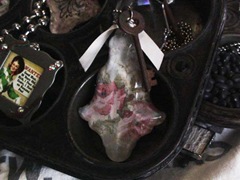
This one is a beauty with the pink roses on the big crystal and a vintage skeleton key on a 24” ball chain.lg-pk-roses-prism
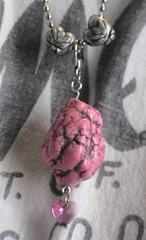
Another big boy on a chunky silver chain.  The pink one has a Swarovski heart crystal dangle and 2 pewter heart beads.lime-orange-necklacepink-hearts-chunky-charm
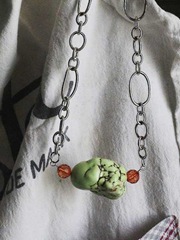
More pendants and a blue necklace with mixed beads of blue and aqua.mixed-necklaces

This skeleton key with the pink beads and silver cross is really cute on a chain.pink-key-charm

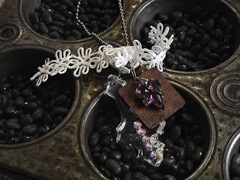
These large prisms are so dynamic by themselves, but there are extras added to most of them as an accent.prisms-lgsmall-prism-charmsm-blk-rose-pendant

Purple and black  really makes a statement here.  This one is great in person and I may pull out my yellow or orange top to mix this one up with some more necklaces.  Just keep adding them!purple-and-black-necklace
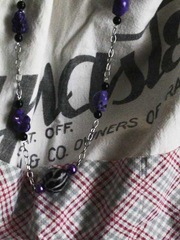
Triple lengths of turquoise in green and aqua.  Yummy.triple-turquoise

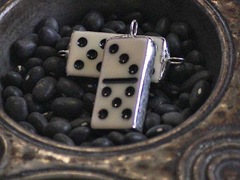
These little mini dominoes will be components in a larger length chain necklace.  I plan on incorporating several smalls in that one.  That is, when I can find that rascally jar full of goodies.  Where, oh where could it be?mini-dominoe-charms
Well, That’s All Folks!  This was a couple of good days work and a lot of FUN with my BFF.    We have a lot of plans and ideas up our sleeves for this summer.  Hmmm….I can’t wait.  Y’all come back soon and I hope to have some more goodies posted.

Friday, October 1, 2010

New Pendants

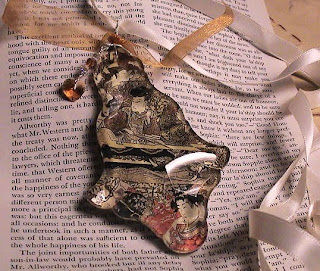
I finally jumped off the proverbial fence and listed some pendants on my Etsy site. I put together these hefty prism pendants and added the finishing touches. These guys are the big boys of prisms and they look awesome mixed with other chunky bead necklaces or layers of mixed chains.
I used Swaroski crystals for the embellishments and sterling silver wire for the bails and charms. This one measures 3 3/4" tall X 2 3/8" at widest point.
This robin is my fav of the group. I created a sterling silver nest with a pale blue glass bead for the accent. This one is a different shape and a bit smaller at 2 7/8" tall and 2" across
Jump on over to my Etsy shop, Sassy Tumbleweed if you are interested in shopping. I will be adding new items as I get them together and do photo shoots.
Thanks for stopping by.

Sunday, September 19, 2010

a FIRST tutorial

I am having a request for instructions on my ATC storage book.  It is really easy, but in an effort to show the folding of pages this post will be a bit photo heavy.  Now for advanced paper folders…just skip perhaps every other photo.  So, I’ve covered all those bases, on with the show…..

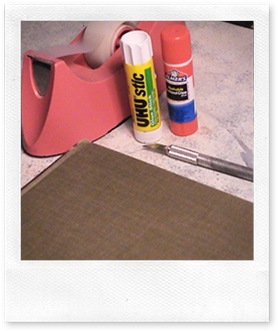
beginning supplies

Basic supplies needed are :

Book

Tape

Glue stick

Exacto…not really needed  since I tear out the pages as needed because I prefer the torn edges.


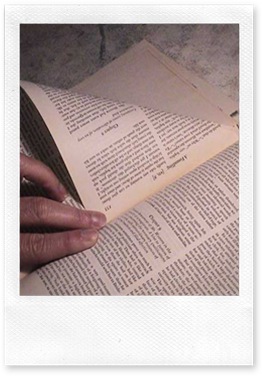
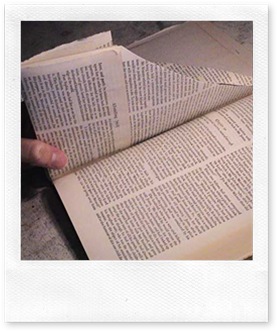
fold-first-page

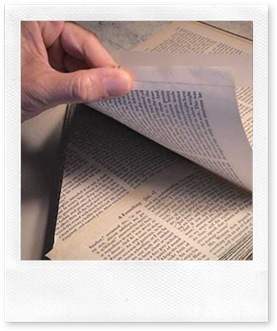
I usually start folding on the first page after the title page.

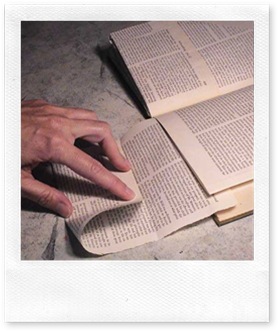
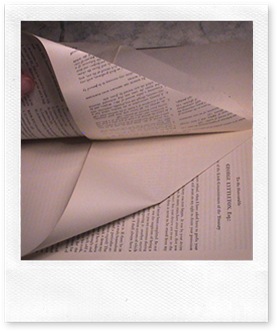
Each two pages will be folded in toward each other.

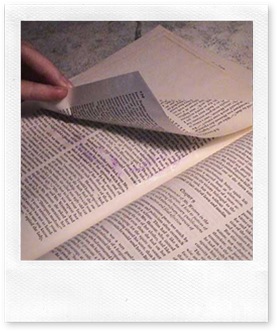
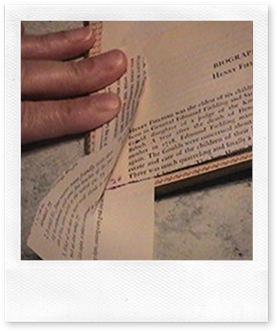
Fold the top outside corner into the center of the book.  Burnish the folded edge with a bone folder or the edge of the ever-present credit card.


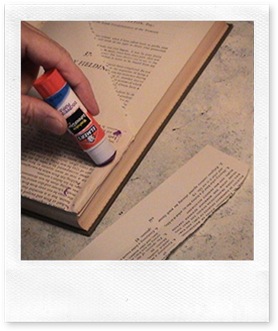
glueing-first-page


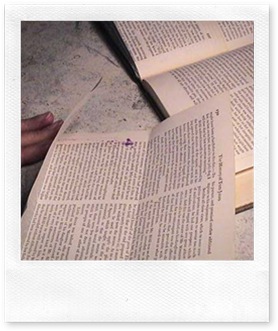
After folding, glue the folded corner.

I just eyeball the area or you can apply the glue to the edges of the flap to be glued. 

I am sure you can see that both ways are equally effective as long as Glue is involved.


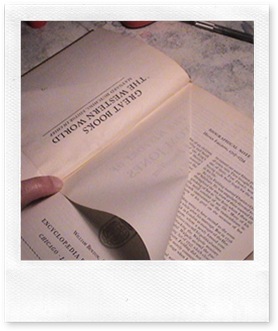
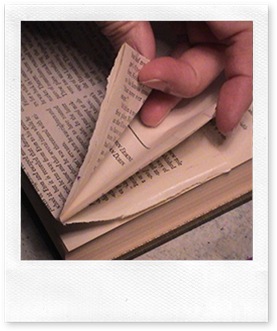
2nd folded page

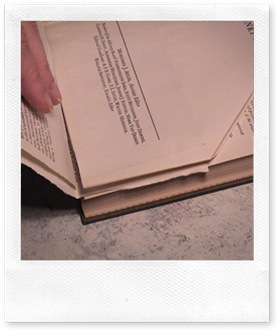
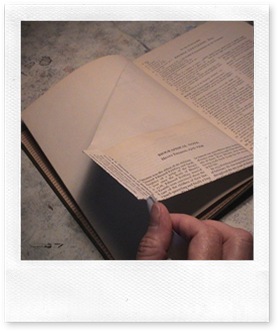
Fold the next page from the upper corner in toward the prior folded page.


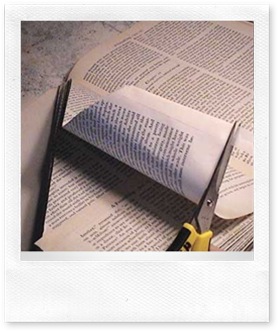
taping-pages Pull the two folded pages together, matching the edges carefully.  Place tape so it may be folded over to join the two pages.  Allow the excess length of tape to come off at the bottom of page.


tape-trimming

Trim the excess tape evenly with page.


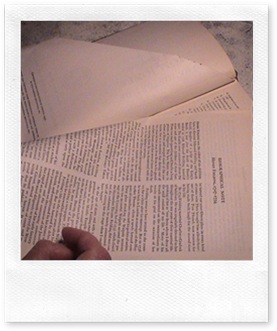
tear out pages

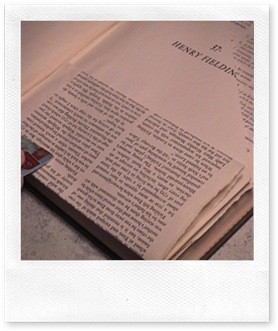
It is important to remove pages so the new folded ones are not so tight together.  Just pull out 2 or 3 pages behind the ones you just folded.


pocket-folding

The torn out pages will now be used to create pockets on your folded pages.

Place one torn-out page even with the bottom of the folded corner.  This will be at the bottom third of the page.


pocket-folding-2 Fold the page up and burnish the edge lightly to mark the fold.


folded pocket step 3

This photo shows more clearly what we have just done with the addition of the last fold.  The remaining third of the torn-out page is folded into the crease to create a double layer of paper for strength for the front of the pocket.


pocket-glueing


Open the folded pocket and place glue on the edges to secure.  You don’t need much, it just helps keep things in place sorta like a basting stitch.


pocket-placement


The pocket is formed and you need to run the glue stick again on the Inside edge of the pocket only to secure it to the folded diagonal page.


folded pocket step 6

Burnish this edge well.  The outer edge is not secured at this time.


pocket-page-back

Flip over the folded diagonal page so the pocket can be secured the same as the front side.  This piece is only one thickness and you may also run the glue at the top of this pocket since it won’t be used to hold things.


folded pocket step 8

Now, you have a front of pocket that is 2 thicknesses.  Next is the folded diagonal pages with the tape along the edge.  The back is one thickness of the back pocket.

You may choose to glue these edges, but I used tape to join them together.


final step 1

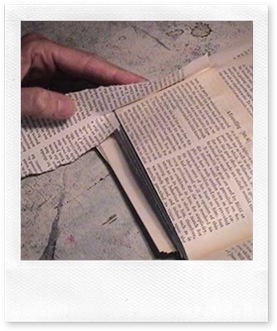
The final steps finish the outer edge and bind all the layers together and hides the tape.  Tear about a 1” strip off one of the torn out pages. 

Apply glue along the outer edge at the pocket area.


edge-binding-back  

Place the 1” strip of paper over the glued area on front with half of the strip remaining to wrap around to the back of the page.

Apply glue to the back of the pocket.


final step 3


Fold over the strip of paper and burnish well.  A touch more glue may needed along the outer edges of the strip of paper to hold it down more securely.


final step 4

Now tear off the excess paper even with the bottom of the page.


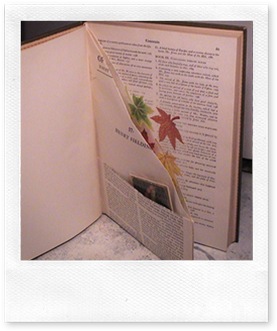
VOILA!!finished page

This is your finished pocket page.  ATC’s can be placed in the front and diagonal pockets easily.  I have been using the larger pockets for some of my tags.  I have also received some beautifully presented ATC’s and I will place the presentation piece in this larger pocket.

next page

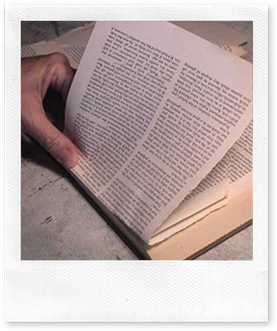
Now, onto the next folded page.  Just repeat what you have done for the prior page and keep on repeating until done.  Don’t forget to remove the 2 or 3 pages in between or the pages will be too tight together to show off your creation.


Phew, I broke a sweat on that one folks.  I hope you enjoy it and all the directions were clear as mud.  You will see just what I mean about how easy this little project is and you will be whipping these out right and left. 

Enjoy! and leave a comment with any helpful hints.

Thursday, September 16, 2010

Go here quick…

I am going for votes here and my competitive juices get to flowing when a contest is on.  You just have to send an email vote and I appreciate it.  Enjoy and Thanks

Wednesday, September 8, 2010

Dreamin' and Wishin'

I have been participating in some art swaps lately trying to get my mojo in gear. One challenge was the use of Dove chocolate sayings that are inside each wrapper. Hmmm, I had never noticed this little gift in each little chocolate package before. Perhaps because I was ripping the paper off in such a rush to gobble chocolate?....Nahhhhhh....
I think this one was my favorite of the bunch. A vintage ad for a recreational vehicle that makes me swoon. I Dream of a Willerby Tip Top and Wish one would come my way. I'd be traveling the backroads and pig trails in style!

Til then....AuRevoir!

Thursday, July 8, 2010

Fillin' up the tank

My tank of ideas has been refueled recently and I can't wait to get some new projects on the boards.  I came home from serious road trips and wishing I had kept track of all the mileage....or maybe it's better that I didn't.  There has been a LOT of rain in our neck of the woods and I was greeted by a leaky roof in my studio/storage building.  double UGH!!  Sheet rock is falling and water is pouring along with my tears at some of the items lost to damage and mold.  That is the urgent project of the moment.  I do plan on posting new projects and even some older, loved ones also. 

If you are interested in purchasing, I can invoice through PayPal or we can make private arrangements.  Feel free to email me at terri_n_tx@yahoo.com with "purchase" in subject line is helpful.

  I've been making a variety of blooms lately.  This one is layers of silk, chiffon and lace with a vintage pin in the center.  A pin is attached to the back making it easy to switch from purse to sweater to headband or wherever you please.  Each bloom will be unique and the center pin or button will be different for each one.   $10  SOLD


  Thanks for shopping by for a chit chat.
terri B